
This lesson is made with PSPX9
But is good with other versions.
© by SvC-Design

Materialen Download :
Here
******************************************************************
Materials:
12930417520_fleurs_nikita.psp
13154694076_femmes.psp
sel beautiful1- rooske.PspSelection
******************************************************************
Plugin:
Plugin - Medhi - Sorting Tiles
Plugin - Simple Blintz
Plugin - AAA Frame – foto Frame
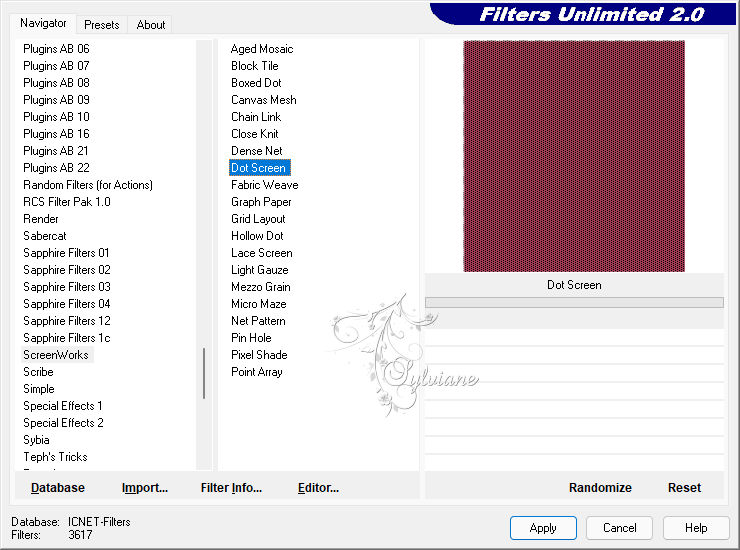
Plugin - ScreenWorks - Dot Screen
******************************************************************
color palette
:
******************************************************************
methode
When using other tubes and colors, the mixing mode and / or layer coverage may differ
******************************************************************
General Preparations:
First install your filters for your PSP!
Masks: Save to your mask folder in PSP, unless noted otherwise
Texture & Pattern: Save to your Texture Folder in PSP
Selections: Save to your folder Selections in PSP
Open your tubes in PSP
******************************************************************
We will start - Have fun!
Remember to save your work on a regular basis
******************************************************************
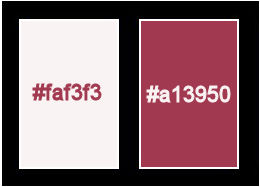
Foreground: #faf3f3
Background: #a13950
1.
Open a new 900 x 600 px transparent image.
Fill with background color.
Selection - Select All
Layers - New Raster Layer
Open 13154694076_femmes.psp
Edit – Copy
Edit - Paste into selection
Selection - Select None
2.
Effects - Image Effects - Seamless Tiling

Layers – Duplicate
Image - Mirror – mirror Horizontal
Layer – merge – merge all (flatten)
3.
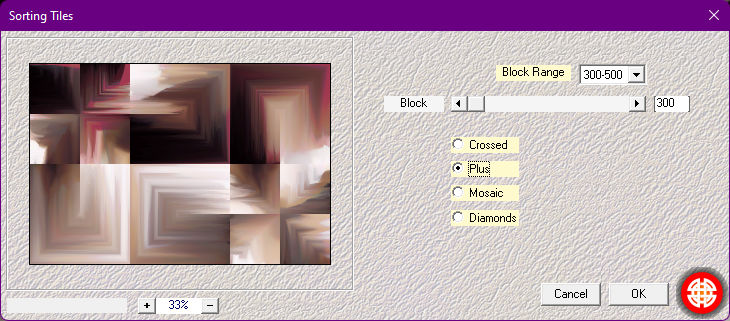
Plugin - Medhi - Sorting Tiles
Plugin - Simple Blintz
Plugin - AAA Frame – foto Frame

4.
Layers - New Raster Layer
Selections - Load / Save - Load selection from disk - sel beautiful1- rooske.PspSelection
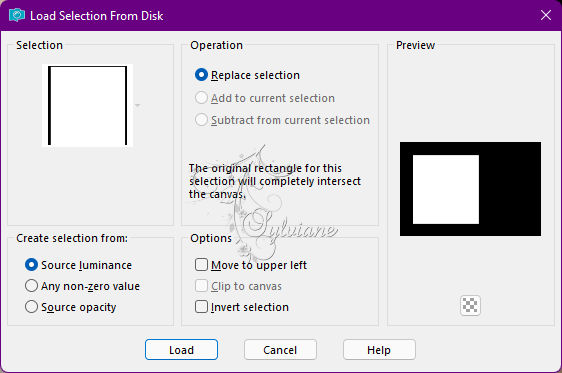
Fill the selection with background color.
Plugin - ScreenWorks - Dot Screen
Selection - Select None
Set the mode to soft light.
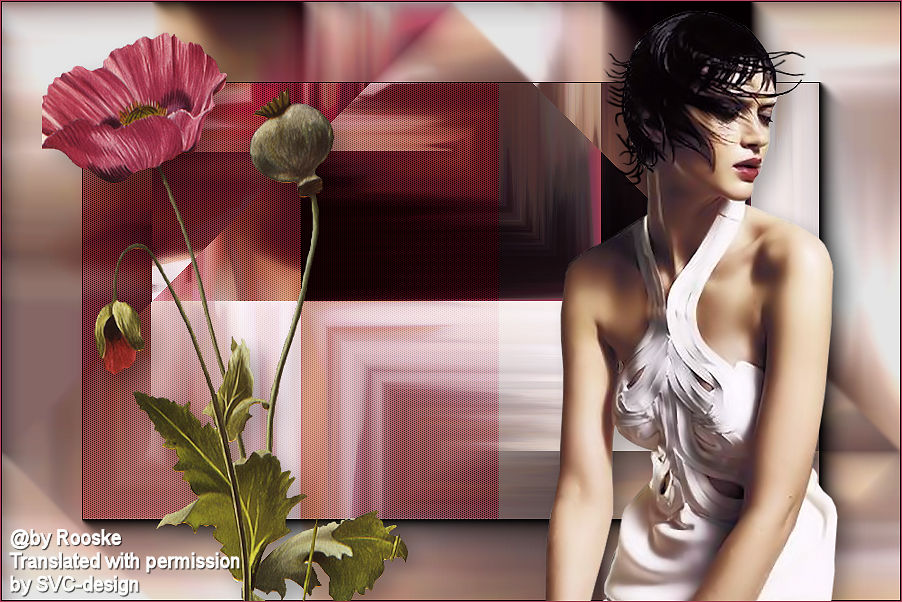
5.
Open 13154694076_femmes.psp
Edit – Copy
Edit - Paste as new layer
Reduce by 90%, uncheck Resize all layers.
Put her on the right.
Effects - 3 D effects - Drop shadow
10/10/30/30 color:#000000
6.
Open 12930417520_fleurs_nikita.psp
Edit – Copy
Edit - Paste as new layer
Reduce by 90%, uncheck Resize all layers.
Effects - 3 D effects - Drop shadow
10/10/30/30 color:#000000
Layer – merge – merge all (flatten)
-7-
Image - Add Borders – Symmetric -1 px – color: #a13950
Customize your creation.
Adjust sharpness sharpen.
Write your name and save as jpg.
Back
Copyright Translation © 2022 by SvC-Design